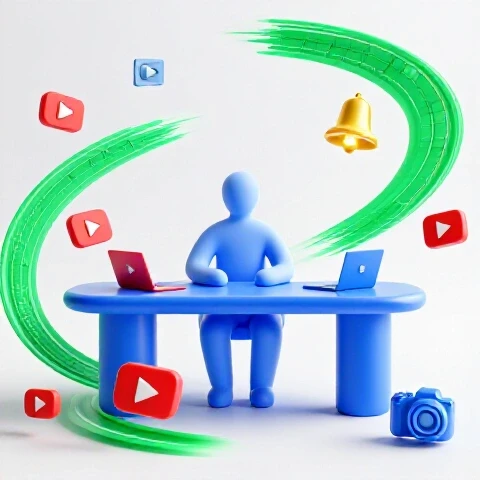
Artwork for YouTube Channel (1-Day Mockup!)
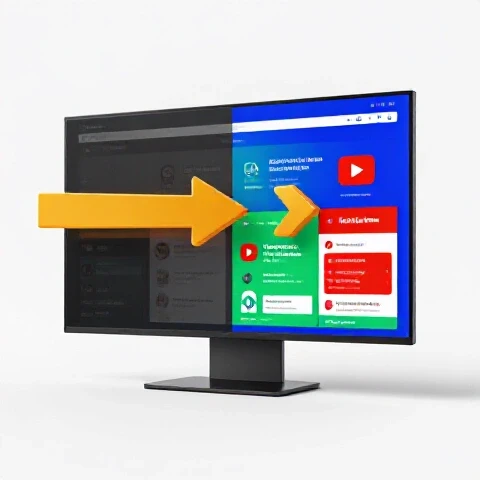
(Visual: A split-screen image. On the left, a chaotic collage of pixelated thumbnails, mismatched colors, and outdated fonts representing poor channel artwork. On the right, a sleek, modern mockup with clean lines, harmonious colors, and engaging typography.)
Ever feel like your channel is screaming for a makeover?
I get it.
In the wild world of YouTube, first impressions are EVERYTHING.
Think of it as your digital storefront.
Would you walk into a shop with a grimy window and a broken sign?
Probably not.
The same goes for your channel.
That’s why having killer artwork is non-negotiable.
And I’m not just talking about slapping
on a logo.
I’m talking about crafting
a visual identity that resonates with
your audience and sets you apart from
the millions of other channels out there.

But who has time for that, right?
You’re busy creating content, editing videos, and engaging with your community.
That’s where this guide comes in.
I’m going to walk you through a 1-day mockup process that will help you transform your channel artwork and set the stage for success in 2025.
Let’s dive in!
Section 1: The Evolution of YouTube Channel Artwork
YouTube has changed a lot over the years, and so has the way we present our channels.
It wasn’t always about crisp graphics and perfectly optimized thumbnails.
Let’s take a trip down memory lane.
Historical Perspective
Remember the early days of YouTube?
I do!
It was a simpler time.
Channel pages were pretty basic, and branding was often an afterthought.
- Early Days (2005-2010):
Simple layouts, minimal branding.
Think basic text and maybe a low-resolution logo. - The Rise of Channel Art (2010-2015):
YouTube introduced channel art,
allowing creators to add a banner
image.
This was a game-changer! - Thumbnail Optimization (2015-2020):
Creators started realizing the power
of thumbnails.
Click-through rates became a key metric. - The Era of Branding (2020-Present):
Consistent branding across all
elements became essential.
Think logos, color palettes, and typography.
Current Trends
So, what’s hot in the YouTube artwork scene right now?
Here’s what I’m seeing:
- Minimalism: Clean lines, simple graphics, and plenty of white space. Less is more!
- Bold Typography: Eye-catching fonts that grab attention and convey personality.
- Harmonious Color Palettes: Using complementary colors to create a visually appealing aesthetic.
- 3D Elements: Adding depth and dimension to thumbnails and banners.
- Animated Elements: Subtle animations to make your artwork stand out.
(Visual: A collage of current YouTube channel artwork examples, showcasing different styles and trends.)
The Importance of Adaptation
The digital landscape is constantly evolving, and what works today might not work tomorrow.
That’s why it’s crucial to stay on top of trends and adapt your artwork accordingly.
Think of it like fashion.
What was cool in the 90s is probably not going to fly today (unless you’re going for a retro vibe, of course!).
The same goes for YouTube artwork.
You need to continually refresh your visual identity to remain relevant and appealing to your audience.
Section 2: Understanding Your Audience
Okay, so you know why artwork is important, and you’re aware of the latest trends.
But before you start designing, you need to understand who you’re designing for.
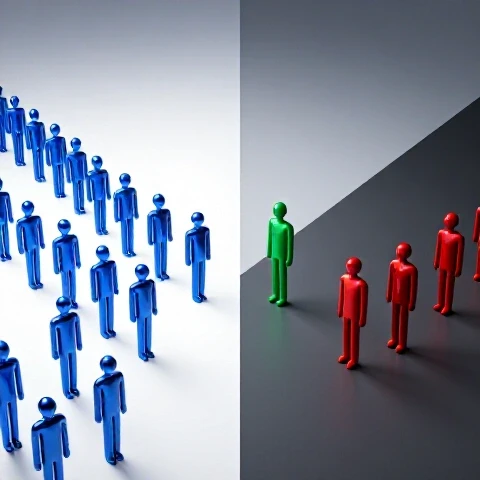
Identifying Your Target Demographic
Who are you trying to reach with your content?
Are you targeting Gen Z gamers, millennial moms, or baby boomer retirees?
Identifying your target demographic is the first step in creating artwork that resonates with them.
Consider factors such as:
- Age: What age group are you targeting?
- Interests: What are their hobbies and passions?
- Viewing Habits: What type of content do they watch?
- Location: Where do they live?
- Income: What is their economic status?
Tailoring Artwork to Audience Expectations
Once you have a clear picture of your target audience, you can start tailoring your artwork to their expectations.
For example, if you’re targeting Gen Z gamers, you might want to use bright colors, bold typography, and edgy graphics.
On the other hand, if you’re targeting millennial moms, you might want to opt for a more clean, minimalist, and family-friendly design.
(Visual: Examples of YouTube channels that successfully resonate with their target audience through their artwork.)
Engagement Metrics
Your artwork can have a significant impact on viewer engagement and retention.
Think about it: if your thumbnail is eye-catching and relevant, people are more likely to click on your video.
And if your channel banner is visually appealing and informative, they’re more likely to subscribe.
According to a study by tubics,
custom thumbnails can increase
click-through rates by up to 30%.
(Source: https://tubics.com/youtube-thumbnail-guide/)
That’s HUGE!
By tracking your engagement metrics, you can see how your artwork is performing and make adjustments as needed.
Key metrics to monitor include:
- Click-Through Rate (CTR): The percentage of people who click on your video after seeing the thumbnail.
- View Duration: The average amount of time people spend watching your videos.
- Subscriber Growth: The rate at which your channel is gaining subscribers.
Section 3: Key Elements of Effective YouTube Channel Artwork
Now, let’s break down the key elements of effective YouTube channel artwork.
Channel Banner Design
Your channel banner is the first thing people see when they visit your channel.
It’s your chance to make a strong first impression and communicate your brand’s personality.
Here are some tips for designing a killer channel banner:
- Dimensions: The ideal channel banner size is 2560 x 1440 pixels.
- Branding Elements: Include your logo, tagline, and a brief description of your channel.
- Visual Hierarchy: Use visual cues to guide viewers’ eyes to the most important information.
- Call to Action: Encourage viewers to subscribe or check out your latest video.
(Visual: Examples of well-designed YouTube channel banners with clear branding and a call to action.)
Video Thumbnails
Your video thumbnails are the gateway to your videos.
They’re what entice people to click and watch your content.
Here are some guidelines for creating eye-catching thumbnails that drive clicks:
Your artwork should have a consistent look and feel across all platforms.
Use the same color palettes, fonts, and design elements in your channel banner, thumbnails, and social media profiles.
This will help viewers easily recognize your brand and build trust.
Section 4: Tools and Resources for Creating Artwork
Alright, so you’re ready to start designing.
But what tools do you need?
Design Software
There are tons of design software and tools available for creators, ranging from beginner-friendly options to advanced programs.
Here are a few popular choices:
- Canva: A user-friendly design platform with tons of templates and graphics. Great for beginners!
- Adobe Photoshop: A powerful image editing software that offers advanced features and flexibility.
- Adobe Illustrator: A vector graphics editor that’s perfect for creating logos and illustrations.
- GIMP: A free and open-source image editor that’s a great alternative to Photoshop.
(Visual: Screenshots of different design software interfaces, highlighting their features.)
Mockup Templates
Mockup templates are a great way to visualize your artwork before you finalize it.
They allow you to see how your banner and thumbnails will look on different devices and platforms.
You can find free or paid mockup templates on websites like:
- Placeit: Offers a wide variety of mockup templates for YouTube and social media.
- Envato Elements: A subscription-based platform with unlimited access to design assets, including mockup templates.
- GraphicRiver: A marketplace where you can purchase individual mockup templates.
Hiring Professionals vs. DIY
Creating artwork in-house can be cost-effective, but it can also be time-consuming and challenging.
Hiring a professional designer can ensure high-quality results, but it can also be expensive.
Here’s a breakdown of the pros and cons of each option:
DIY:
- Pros: Cost-effective, full creative control.
- Cons: Time-consuming, requires design skills.
Hiring a Professional:
- Pros: High-quality results, saves time.
- Cons: Expensive, less creative control.
Section 5: The 1-Day Mockup Process
Okay, let’s get to the good stuff!
I’m going to walk you through a 1-day mockup process that will help you refresh your channel artwork and set the stage for success in 2025.
Step 1: Brainstorming Ideas
Before you start designing, take some time to brainstorm ideas.
What message do you want to communicate with your artwork?
What kind of vibe do you want to create?
Gather inspiration from platforms like Pinterest and Behance.
Look at other YouTube channels in your niche and see what kind of artwork they’re using.
But don’t just copy them!
Use their designs as a starting point and put your own unique spin on them.
Step 2: Sketching Concepts
Once you have some ideas, start sketching out concepts on paper or digitally.
Don’t worry about making them perfect.
The goal is to get your ideas down on paper and explore different possibilities.
Step 3: Choosing Color Palettes
Color is a powerful tool that can evoke emotions and communicate your brand’s personality.
Choose color palettes that align with your channel’s theme and audience preferences.
Use a color palette generator like Coolors or Adobe Color to find harmonious color combinations.
Step 4: Typography Selection
Typography is another important element of your artwork.
Choose fonts that are legible and stylish.
Consider the overall tone and message of your channel when selecting fonts.
Step 5: Designing the Artwork
Now it’s time to start designing your artwork!
Open your design software of choice and start creating your channel banner and thumbnails.
Here are some practical tips:
- Channel Banner:
- Use a high-resolution image.
- Include your logo and tagline.
- Add a call to action.
- Thumbnails:
- Use bright colors and interesting visuals.
- Add text overlays that highlight the key message of your video.
- Maintain a consistent style.
Step 6: Reviewing and Refining
Once you’ve designed your artwork, it’s time to review and refine it.
Seek feedback from peers or target audience members.
Ask them what they think of your designs and if they have any suggestions for improvement.
Be open to criticism and use it to make your artwork even better.
Section 6: Launching Your New Artwork
You’ve created your amazing new artwork.
Now what?
Planning the Reveal
Don’t just slap your new artwork up and hope for the best.
Plan a launch!
Consider a teaser campaign on social media, hinting at the change.
Engaging Your Audience
Make the reveal an event!
Host a live stream where you unveil the new artwork and explain the thought process behind it.
Create a behind-the-scenes video showing the design process.
Get your audience excited!
Monitoring Performance
After the launch, keep a close eye on your YouTube Analytics.
Did your click-through rate improve?
Are you gaining more subscribers?
Use the data to fine-tune your approach and ensure your artwork is working its magic.
Conclusion
So, there you have it!
Remember, your artwork is more than just a pretty picture.
It’s a powerful tool that can attract viewers, establish your brand identity, and ultimately drive success on YouTube.
Embrace the 1-day mockup process as a practical way to refresh your channel’s visual identity and stay ahead of the curve.
Now go out there and create artwork that truly reflects your brand and captivates your audience!
What are you waiting for?
Your channel’s transformation awaits!