Can I Move Videos Between YouTube Channels? (1-Day Fix!)
The New Year is here, and with it comes that familiar rush of excitement.
It’s January, a time for fresh starts, new goals, and resolutions!
If you’re a YouTube content creator like me, you’re probably thinking about how to streamline your channel, boost engagement, and make 2025 your best year yet.
One question I’ve been pondering lately, and I know many of you have too, is: “Can I move videos between YouTube channels?”
It’s a big question, especially as we head into 2025.
Maybe you’re thinking about reorganizing your content, merging channels for better audience engagement, or even rebranding.
Whatever the reason, knowing how to efficiently transfer videos between channels is a game-changer.
In this article, I’m going to give you a straightforward, actionable guide to transferring videos between your YouTube channels.
I’m talking about getting it done in a single day!
We’ll dive into the policies, the tools, and the exact steps you need to take to make this happen.
Let’s get started!
Understanding YouTube’s Policies and Tools
First things first, let’s talk about YouTube’s rules.
As a creator, you have the right to manage your content.
YouTube’s policies are pretty clear on this: you own your videos.
You have the power to decide what happens to them.
But what about actually moving them?
YouTube’s Creator Studio is your central hub for all things video management.
You can edit, optimize, and analyze your content all in one place.
However, there’s no direct “move” button to instantly transfer videos between channels.
Believe me, I wish there was!
Why no easy button? YouTube’s system is designed to prevent copyright infringement and ensure creators have full control over their content.
A simple “move” button could potentially be abused.
As of 2025, YouTube hasn’t made any major policy changes that directly affect this process.
The core principle remains: you own your content and can manage it as you see fit, but you’ll need to use a workaround to move videos between channels.
Here’s a quick rundown of tools you can use within Creator Studio that will be relevant to this process:
- Download: You can download your own videos in various resolutions.
This is crucial for the process. - Edit: You can make minor edits to your videos, like trimming or adding end screens.
- Analytics: Keep an eye on your video performance to see which videos are worth moving.
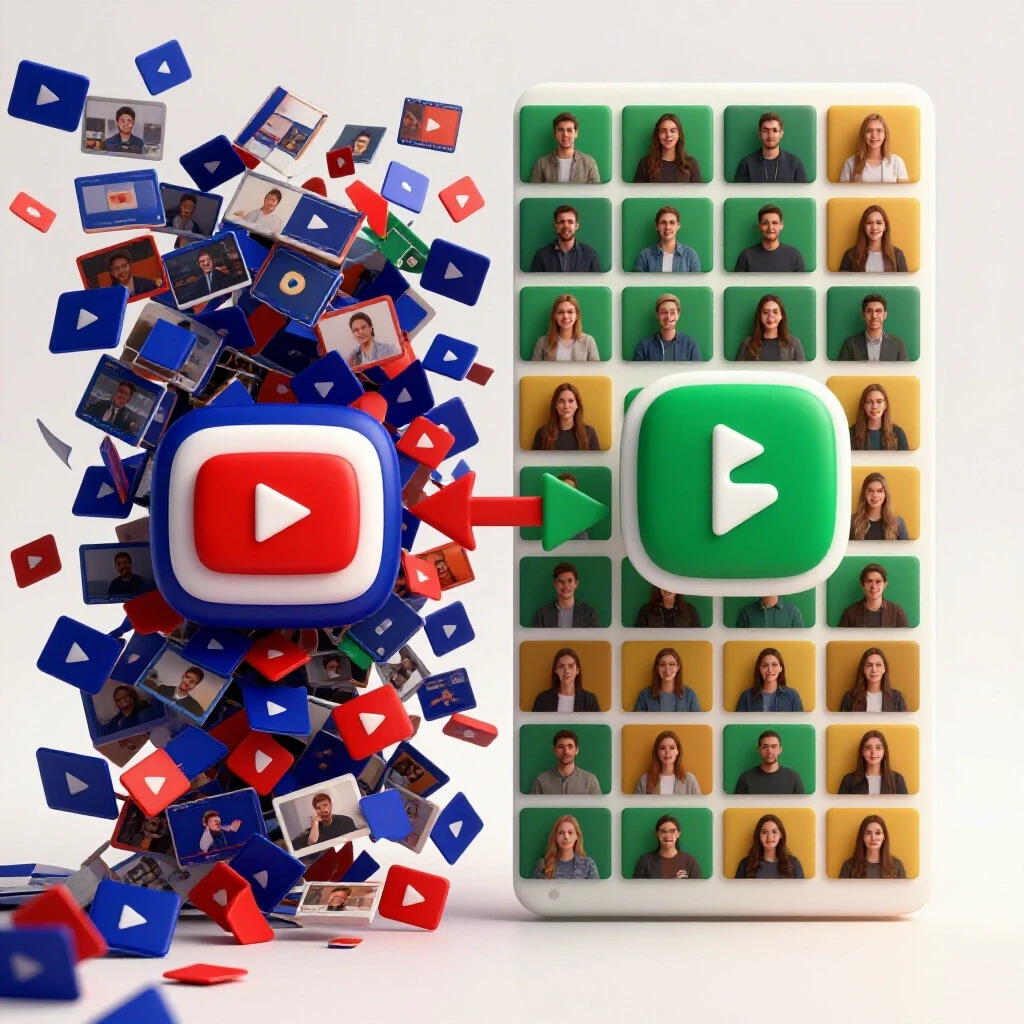
Reasons for Moving Videos Between Channels
Why would you even want to move videos between channels?
I’ve seen and experienced a few common scenarios.
- Rebranding or Changing Niche: Let’s say you started a channel reviewing tech gadgets, but now you’re obsessed with cooking.
Moving your cooking-related videos to a new, dedicated channel makes perfect sense. - Merging Multiple Channels for Efficiency: Maybe you have a personal channel and a vlog channel.
Combining them into one can streamline your content and make it easier for your audience to find everything. - Audience Engagement Strategies: Sometimes, moving certain types of videos to a separate channel can improve engagement.
For example, a gaming channel might move long-form playthroughs to a dedicated “Let’s Play” channel.
I remember working with a client who had a fitness channel.
They started doing some gaming content as a side project, and it took off!
But it was confusing their fitness audience.
We decided to create a separate gaming channel and move all the gaming videos there.
The result?
Both channels saw increased engagement because each catered to a specific audience.
These are just a few examples.
The key is to think strategically about what you want to achieve and how moving videos can help you get there.
Step-by-Step Guide to Moving Content
Okay, let’s get down to the nitty-gritty.
Here’s how to move your videos between channels in what I like to call a “1-Day Fix.”
Preparation Stage
Before you start downloading and uploading, take a step back and plan.
- Assess Which Videos to Move: Not every video needs to be moved.
Look at your analytics.
Which videos are performing well?
Which ones align with the new channel’s focus? Communicate with Subscribers: This is crucial!
I’m moving all my cooking content to a brand new channel called ‘ChefLife.’ I’d love for you to join me there for even more delicious recipes!”
Don’t just disappear.
Let your subscribers know what’s happening.
Post a video on your original channel explaining the move and why you’re doing it.
Give them a clear call to action: subscribe to the new channel.
The Process
Here’s the step-by-step guide:
-
Download Videos from the Original Channel: Go to YouTube Studio, find the video you want to move, click the three dots, and select “Download.” Download them in the highest possible quality.
Important: Make sure you have enough storage space on your computer!
Re-upload Videos to the New Channel: Go to your new channel and click the “Upload” button.
Select the video files you downloaded.Update Titles, Descriptions, and Tags for SEO Optimization: This isn’t just a copy-paste job!
Take the opportunity to optimize your video for the new channel.
Use relevant keywords that your target audience is searching for.Pro Tip: Use tools like Google Keyword Planner or TubeBuddy to find the best keywords.
Create New Thumbnails and Ensure Branding Consistency: Thumbnails are crucial for click-through rates.
Create eye-catching thumbnails that are consistent with your new channel’s branding.I personally use Canva to create my thumbnails.
It’s super easy to use and has tons of templates.Set Up Playlists and Re-categorize Videos on the New Channel: Organize your videos into playlists to make it easier for viewers to find what they’re looking for.
Categorize them appropriately.Implement Redirects or Annotations to Guide Viewers to the New Channel: In the description of your old videos, add a link to your new channel.
You can also use YouTube’s end screens to promote your new channel.
Post-Move Actions
The work doesn’t stop after you’ve uploaded the videos.
- Announce the New Channel Setup: Use social media to announce the new channel.
Share links on Twitter, Facebook, Instagram, and any other platforms you use. - Encourage Viewers to Subscribe and Engage with the New Content: Ask viewers to subscribe, like, and comment.
Engagement is key to building a community. - Monitor Analytics to Gauge the Success of the Transition: Keep a close eye on your analytics.
Are viewers watching the videos on the new channel?
Are they subscribing?
Use this data to adjust your strategy as needed.
Common Challenges and Solutions
Moving videos between channels isn’t always smooth sailing.
Here are some common challenges and how to overcome them:
- Loss of Views and Engagement: This is probably the biggest fear.
To minimize this, make sure you communicate effectively with your audience and create compelling content on the new channel. - Technical Issues During the Upload Process: Sometimes, uploads can fail or take a long time.
Make sure you have a stable internet connection and that your video files are in the correct format. - Audience Backlash or Confusion: Some viewers might be confused or even upset about the move.
Be prepared to answer questions and address concerns.
Be transparent and explain your reasoning.
Here are a few extra tips:
- Utilize Social Media for Announcements: Don’t just rely on YouTube.
Use all your social media platforms to spread the word. - Plan Content Strategically to Maintain Audience Interest: Don’t just upload the same old videos.
Create new and exciting content to keep your audience engaged. - Handle Feedback Constructively: Listen to what your viewers are saying and use their feedback to improve your channel.
Conclusion
Managing your video content effectively is crucial for success on YouTube.
Moving videos between channels can be a strategic move for 2025, whether you’re rebranding, merging channels, or simply trying to optimize your content.
I’ve shown you how, with careful planning and execution, you can successfully navigate this process in just one day.
It’s not always easy, but it’s definitely achievable.
So, what are you waiting for?
Take action on your channel management strategies and see how this guide can help you achieve your content creation goals.
Go out there and make 2025 your best YouTube year yet!